Categories: all aviation Building a Biplane bicycle gadgets misc motorcycle theater
Tue, 06 Aug 2013
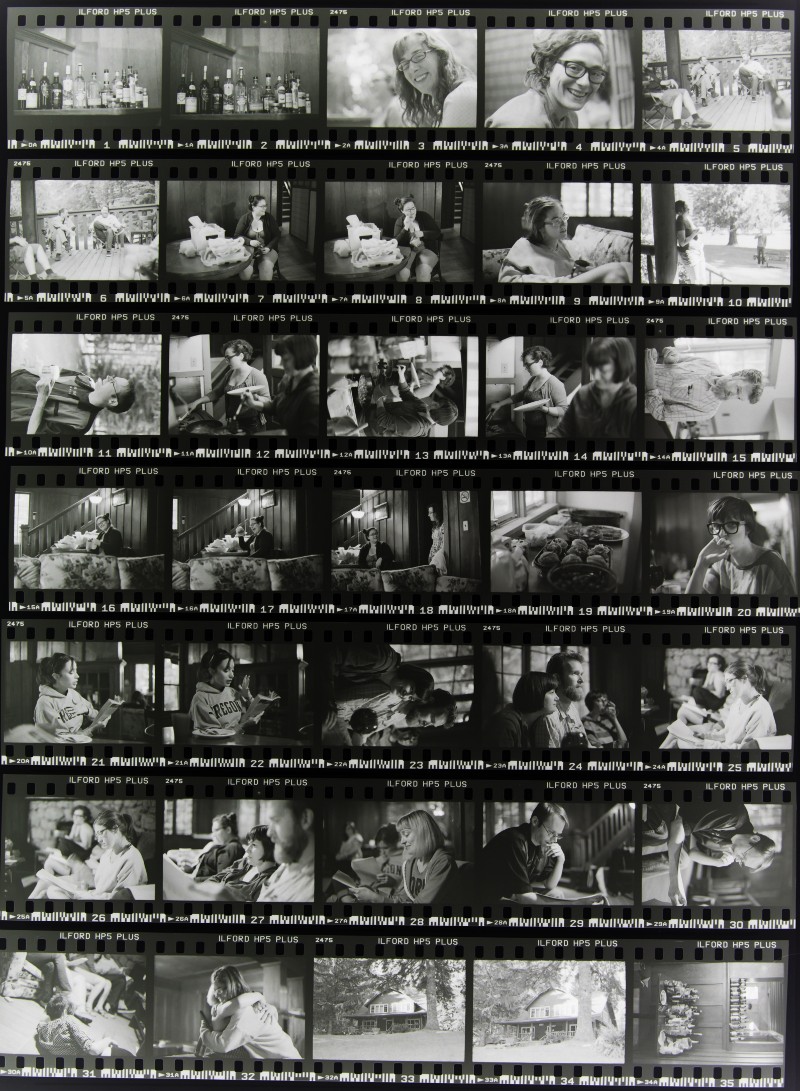
I finally developed the latest two rolls from my old-school EOS.
Posted at 16:39 permanent link category: /photography
Fri, 19 Jul 2013
I was wandering around in Value Village the other day, when I spotted a Canon EOS A2e for $60. It's a decent-quality 35mm camera from the early 90s, and the price wasn't bad. I've been considering getting a film camera that would take my DSLR lenses, and this seemed like the obvious opportunity.
The first roll of film I shot was Fomapan 400, which is a film I've never used before. The development was a bit of a crapshoot, but the recommended time in XTOL worked pretty well. The internet suggests that the Fomapan should be de-rated, but it turned out alright shooting as 400.
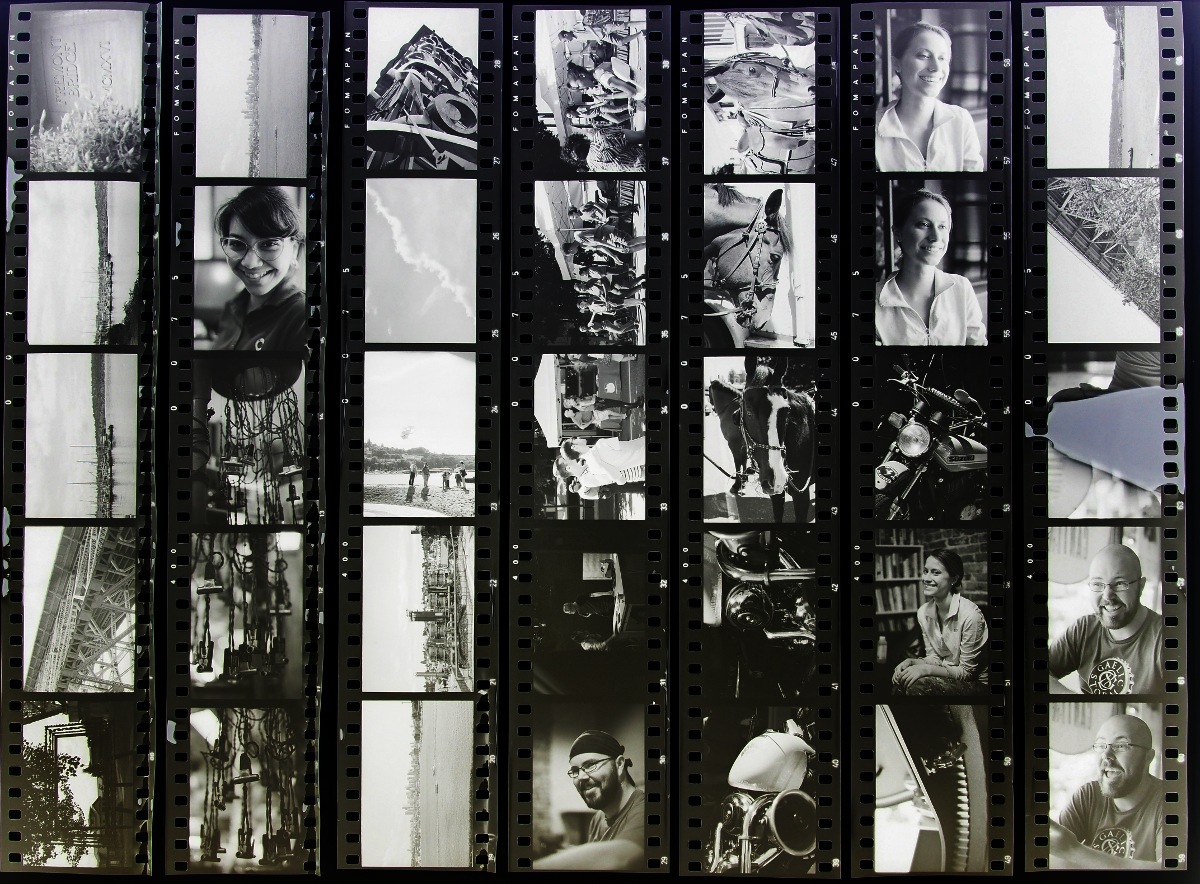
So, I seem to be back into film. We'll see where this leads, if anywhere.
Posted at 23:19 permanent link category: /photography
Tue, 09 Apr 2013
No, I'm pretty sure I didn't just get a fisheye lens. Probably. Maybe.

Posted at 14:20 permanent link category: /photography
Fri, 30 Dec 2011
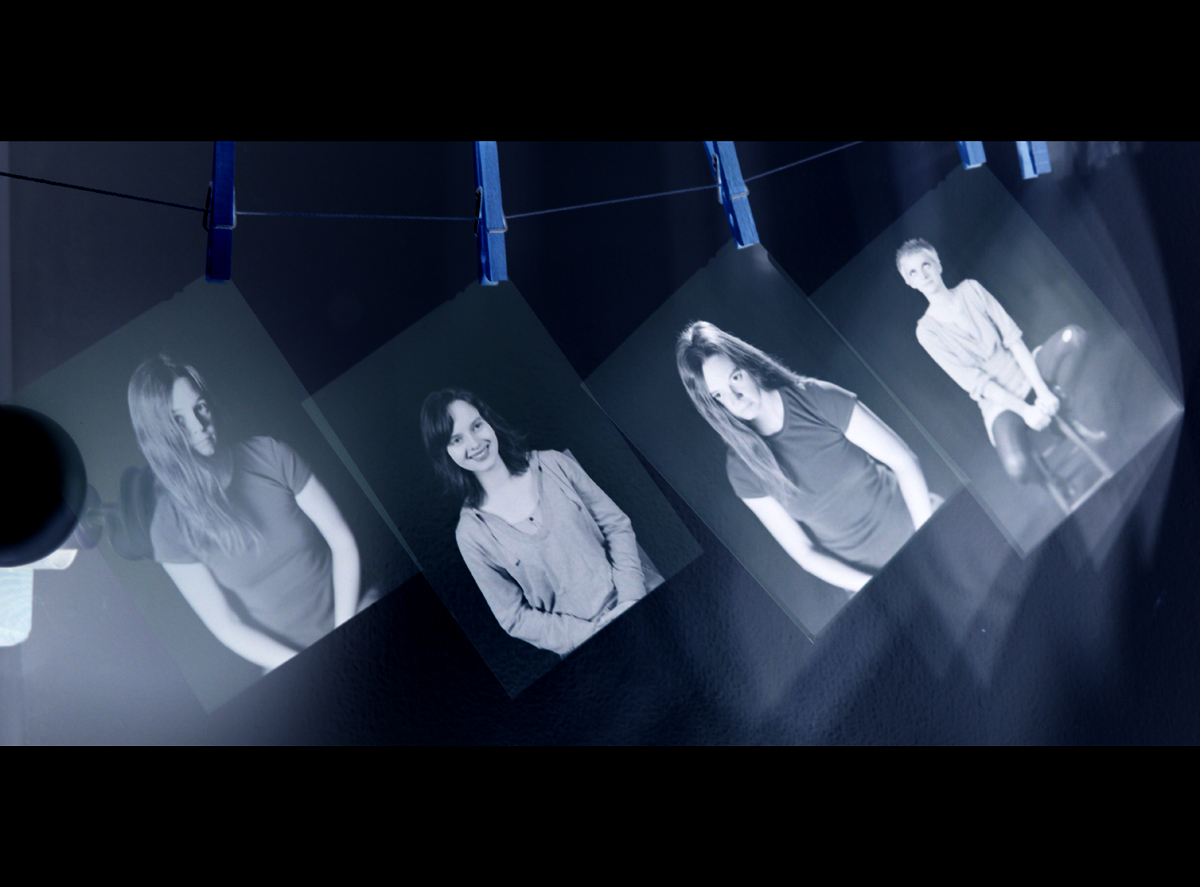
I had a headshot extravapalooza (I'm quite sure this is a real word) a few weeks ago, and I finally had the right confluence of time and energy to develop a few of the shots tonight. I did most of the headshots on the DSLR, but brought along the 5x7, since I need the practice.
Here's the sneak preview shot of the first four negatives I developed:
Posted at 00:30 permanent link category: /photography
Wed, 30 Nov 2011
I've spent some time considering how to scan negatives. I have a bunch of old 35mm negatives, but much more importantly, I'm generating new 5x7 negatives. I have access to a scanner, but it's at work, and sometimes I really want to see how things turned out sooner than that.
So, I've explored various ways of "scanning" negatives with what I have on hand. And what I always have on hand is a digital camera of some variety. The problem is lighting the negative. I've got a piece of white plexiglas I can use at home, and I eventually broke down and bought a very small light table a while back, so I'm pretty well set.
However, over Thanksgiving, I was at my parents' house, and I was not well set. We were going through old boxes of photos, and found some 120 size negatives of my grandfather that we wanted to see properly. I had a camera, but I didn't have any of my diffusing materials.
It only took a few minutes to come up with what I thought was a particularly good use of improvised materials: plastic bags. We located a smooth, white plastic bag, cut it up into a single layer, and taped it to the window (it was still daytime). Then we taped the negative on top of that (careful to apply tape to the smooth side of the film, not the emulsion side). I set my G11 to "macro" mode (mostly for the decreased focal distance), and took a few pictures. I had my netbook with me, which has a copy of The GIMP on it, and used that to invert the image, and adjust the levels and curves to come up with a nice-looking photo:
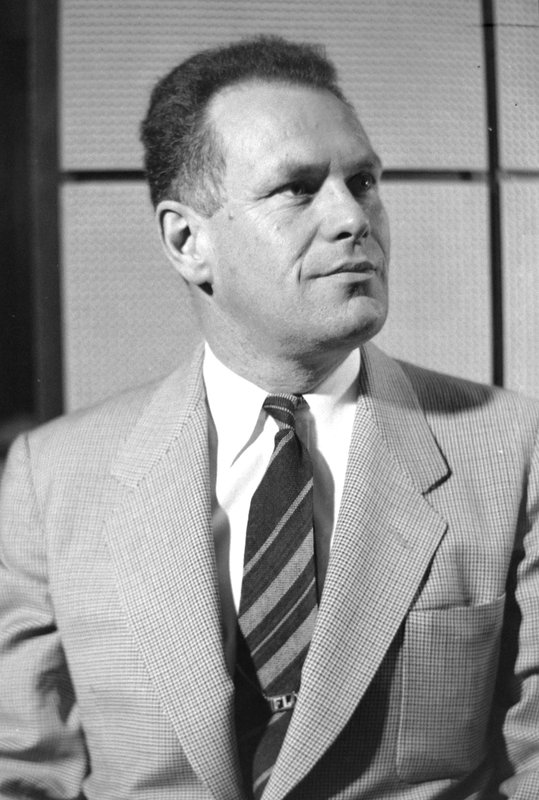
Et voila, there you have it! A pretty decent reproduction of a negative from 1956, using just a digital camera and a white plastic bag. Not bad, if I do say so myself.
Posted at 08:36 permanent link category: /photography
Thu, 17 Nov 2011
With a bit of scanning and tweaking, I give you the Contrasy Negative:
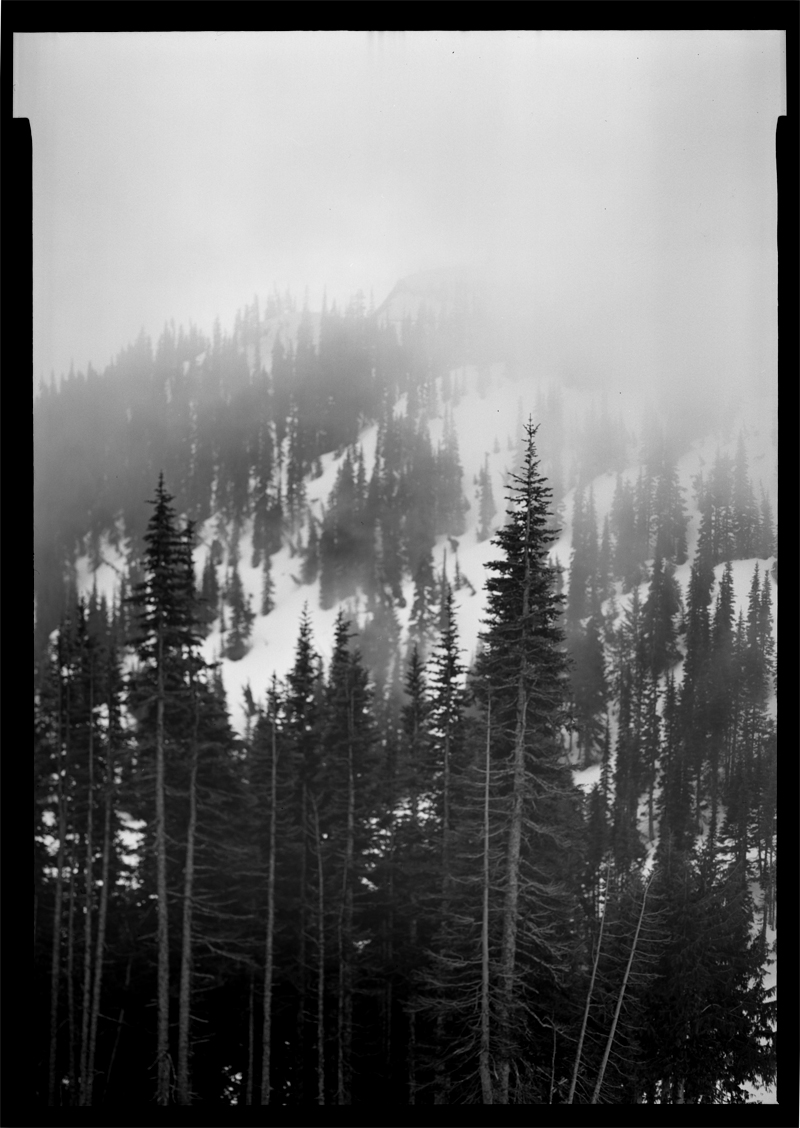
This was shot at Hurricane Ridge in May 2011. In order to get this picture, I found myself standing on the side of the road as rain pelted my umbrella, which was carefully held to cover myself and the (wooden) camera. I was also, as is normal, juggling the light meter, focusing loupe, dark cloth, cable release, film carrier, dark slide, and focusing and re-focusing. Even so, the dark slide (which is what keeps the film from being exposed in the carrier before it's in the camera) was stiff to pull out, and I think that in struggling with it, I managed to bump the camera out of focus. As a result (although it's hard to see at this resolution), there is not actually a single element in this photo which is in focus.
Still, it's a cool photo, and at small resolutions (the opposite of why 5x7 photos are neat), I quite like it. I'll take it as a learning experience, though, and also take it as a hint to retire that film holder.
Posted at 08:56 permanent link category: /photography
Mon, 14 Nov 2011
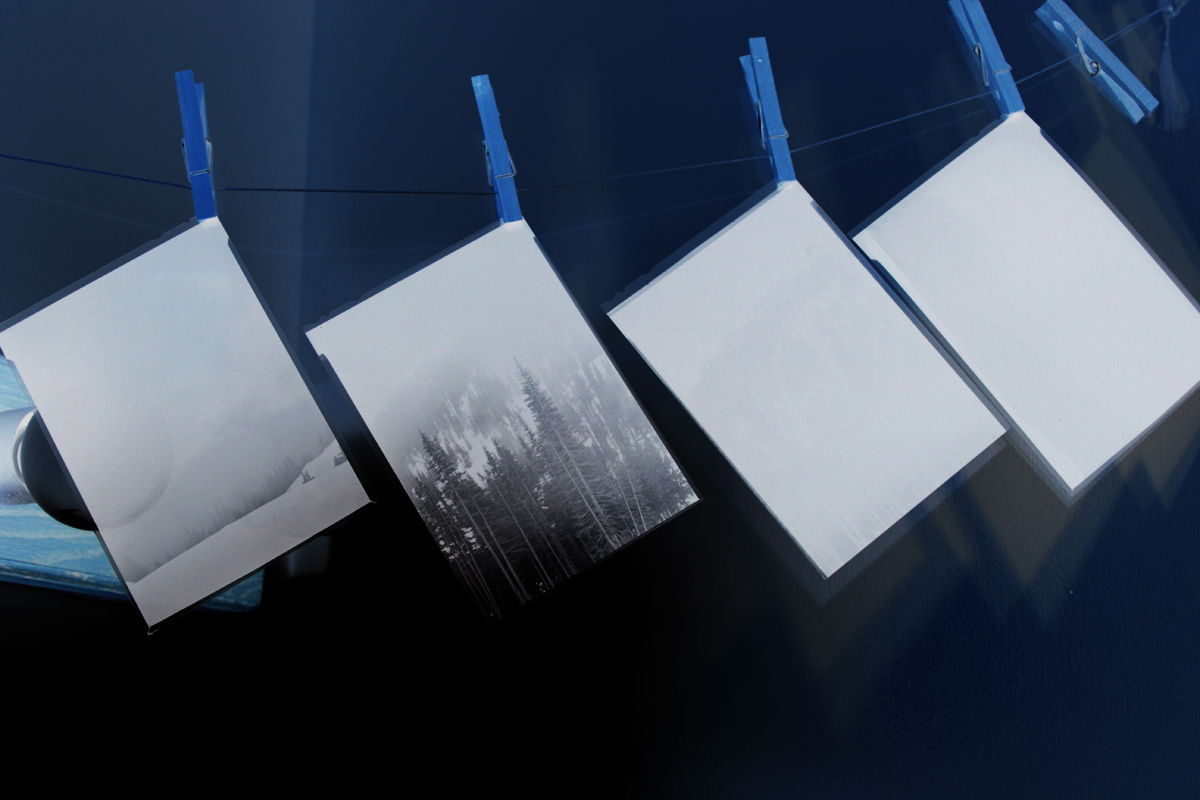
I finally got my lazy butt back into the darkroom to finish processing the remaining pictures from Hurricane Ridge. I only took them in May, after all. What's a few months' wait?
They're still drying, but I was so excited to see actual contrast in one of my negatives that I just couldn't wait to share it. This is definitely one of the weirder ways to present 5x7 negatives, but I give you the Sneak Preview (Of Sorts):
Posted at 23:37 permanent link category: /photography
Wed, 17 Aug 2011
The Power of Color and Exposure Correction
So, I'm constantly amazed at what can be performed using just exposure and color correction on a photo. For example:
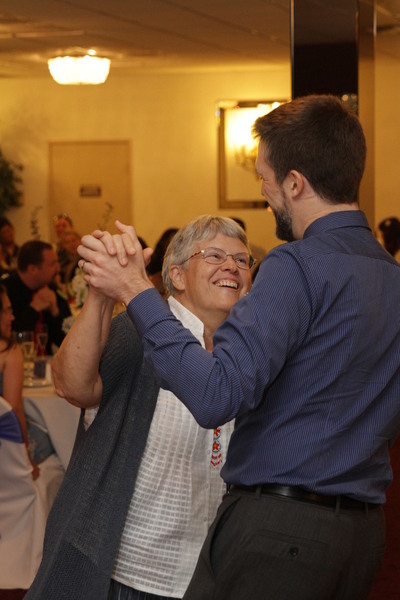
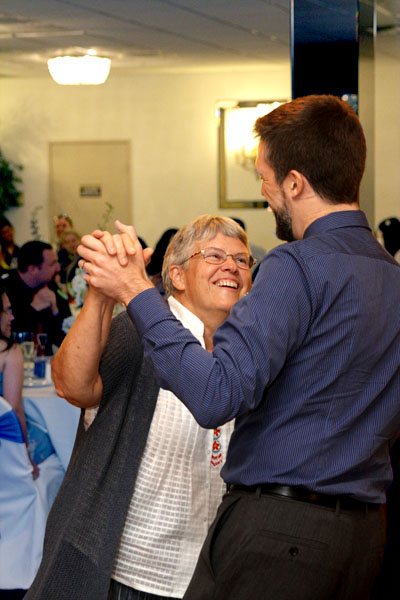
Take for example these shots. The one on the left is the picture as it came out of the camera (Canon 7D, Sigma 24-70 f/2.8), and on the right is the picture as fixed up. It only represents about 10 minutes of fiddling to make that kind of a difference.
Now, the picture, as shot, isn't terrible. The foreground subjects are a bit washed out, and the background is pretty yellow, but it's acceptable. It's only when you make the adjustments (deepening exposure on the foreground, deepening it a little less on the background, and shifting the background away from that heavy yellow cast) that a really good picture comes out of it, though.
For what it's worth, the process I followed here was to load the image in Photoshop, then select the foreground dancers. Then I set up three adjustment layers: a Levels layer for the foreground, a Levels layer for the background, and a Color Balance layer for the background. (Make the selection, then save it using Select > Save Selection... to use it over and over.) I missed on the selection a little bit, so I went into the Channels panel, turned on the appropriate mask channel, and painted around as appropriate. The whole thing took less than 10 minutes.
It's amazing to me that I went for so long without post-processing pictures. Now that I have half a clue what I'm doing, I'm consistently well pleased with how my pictures turn out.
Posted at 15:46 permanent link category: /photography
Wed, 25 May 2011
I get occasional requests to do headshots for people, which even more occasionally turn into me actually doing such headshots.
They're an odd business, with a very specific set of rules and aesthetic choices already made, if you want a headshot to be competitive. It has to very clearly show the actor's face, and in the best possible way. The expression should be appropriate to the kind of work the actor wants to do (ie, no frowns unless you only want to be playing frowny character parts). Hair and make-up has to be done, and done fairly well. I personally feel that excessive airbrushing has no place in a headshot, since it might get you in the door, but will inevitably lead to disappointment on the part of the casting director.
There are also some interesting technical challenges, although they're the same challenges that apply to any portrait. Exposure and color balance have to be really good. Focus needs to be millimeter-accurate; shallow depth of field is fine, but the focus better be dead on. Funny angles tend to work well (shooting from above or below, for instance), although shooting from above will always make someone look skinnier.
(I amazed some women in a restaurant one day with this trick: they asked me to take their picture with an iPhone. I did the typical across-the-table shot, and it was pretty meh. I handed the phone back, and one of them started joking with the other about photoshopping out her double chin. I asked for the phone back, and took another picture standing up, with the phone about 4 feet above their heads. It went back, and they both oohed and aahed over the result as I explained about getting someone to jut their chin forward, away from the chest (however it's accomplished) to reduce the appearance of a double chin. One of them exclaimed to the other, after I'd gone back to my book, that this was her favorite shot of the trip so far.)
Anyway, I recently had an opportunity to photograph my friend Maggie, and we came up with what I feel is a pretty good headshot:
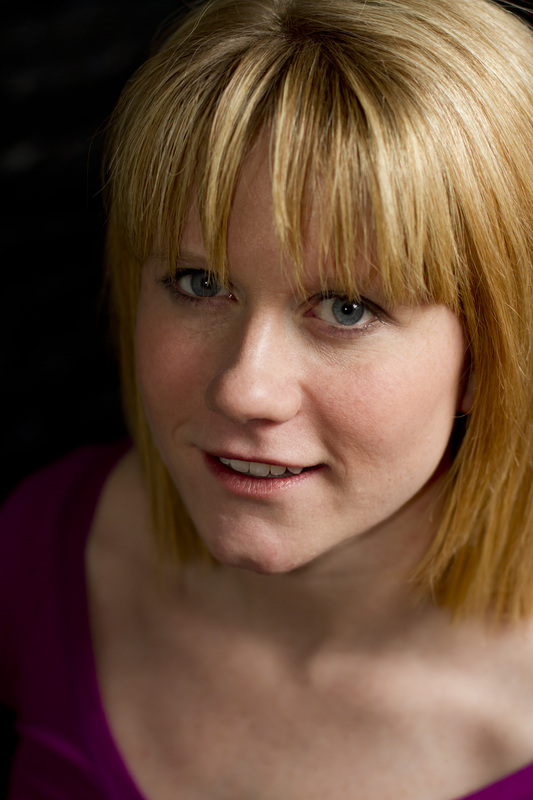
The single most interesting thing about this particular shoot was that there was an even better shot we both wanted to use, but it was very slightly out of focus: her right eye was perfectly in focus, but her left (which is closer to the camera) was out of focus. As soon as I saw that, I immediately refused to use it -- even if you never noticed exactly what it was, there would always be something wrong with that picture, particularly once you saw it printed out on paper. It looks pretty good on the web, where you're looking at a 72 dpi (ie, low-res) version. You can't see the focus error unless you zoom right in.
But that simple and comparatively negligible flaw would be enough to render it a less-effective headshot. That was the thing that got me pondering on the subject of headshots. Ultimately, it's not how good your headshot is in absolute terms, it's about how good your headshot is compared to the headshots of everyone else who's up against you. And wouldn't it suck to be kicked out of contention because your photograph was slightly out of focus (even if the director never consciously knew that was causing the prejudice)? You won't be out of focus in person, but damn if it doesn't make an impression once you have left the room, or before you ever get there.
Posted at 14:50 permanent link category: /photography
Sun, 08 May 2011
Annex's latest show continues to be a photographic inspiration for me. In addition to all the photos I'm normally interested in taking for a show, I found myself with a desire to also take 5x7 photos of the cast.
If you've been following for a few years, you probably already know about my great-grandfather's 5x7 camera, which was also used by my grandfather Francis. Francis and my grandmother Ruth were avid photographers, and even now I have boxes and boxes of their slides in my basement.
Anyway, I don't find myself inspired to pull out the 5x7 very often, so it seemed worth pursuing. I tried a week or two ago, when I was also there to take production photos (photos-of-record that designers can add to their portfolios), but we ran out of time. The 5x7 camera has many fine attributes, but "speedy" is not one of them.
So we tried again last night, and I made the group photo my only priority. It worked well, although even with the nearly 45 minutes I gave myself to set up and take the photos, I was still feverishly putting things away as the audience was filing in to see the show (we took the photos before the show started, since everyone just wants to get out of costume once it's over).
I decided that I wanted to try making these photos with a strobe, something I'd never even considered before with the 5x7. The new lens and shutter is capable of it, though, so again I figured it was worth pursuing. The only strobe I own is the battery-operated Canon 580exII I got for my SLR, but I have an umbrella and stand for it, so I set them up. I was also clever enough to get a flash-capable version when I bought my spot meter last year, so I was able to meter the shot with reasonable accuracy.
I made up a kit of stuff to take with me on any 5x7 shoot, and among my kit is a pair of grey cards (18% grey, which is what the spot meter expects to find when checking exposure), in addition to the spot meter and some other stuff. I was glad to have it for this shoot, as my attempts to meter on "highlights" were not terribly accurate, and the end-result of metering on the grey card was quite good.
For the shoot itself, I ended up going with the strobe shooting through the umbrella (now very glad I got a white one instead of a silver one), as bouncing off the umbrella didn't get enough photons on the scene. I also left the theatrical lights up to reinforce the strobe -- strobe alone resulted in something like an f/2 aperture requirement, and my lens only goes down to f/5.6. Even there, it's likely to be pretty soft, so you really want to go up to f/11 or f/16 if at all possible.
I was also situated close enough to the group that depth of field would be a real problem (indeed it was -- Martyn and James in the back of the group are out of focus, although not badly so). The meter said I could get away with 10% of a stop above f/11, so that's where I set the camera. I was using 1/60th of a second, as long as I was shooting with the flash. I might have been able to stop down more and go for a longer exposure, but I was worried it would look weird with the strobe and strengthened theatrical lights (the longer exposure would only capture more of the theatrical lights, changing the lighting balance).
I could have conceivably tilted the film carrier top-to-bottom in order to incline the field of focus, but I was already running short on time. I was pretty sure that anything other than a straight 90° setup in the camera wouldn't work. That's a trick I might try pulling out some other time, when I have a bit more leisure for setting up the shot.
Development was pretty straightforward, although I ended up developing one shot (of the four I took) all by itself, and the rest all together, along with two other shots I've been waiting to develop. 5 pieces of film in the tray at once was almost certainly too much, and several of the negatives have scratches and odd missing spots that I'm pretty sure are attributable to having so much film together at once. I think if I have a choice in the future, I'll just develop one at a time to avoid the problem. I'm pretty sure when I review my books on the subject, they'll say something like, "If you need to tray-develop more than one sheet of film at a time, limit yourself to 3."
I finally got myself a small light-box, so I was able to copy one of the negatives easily, although the 18 MP photo reproduced below (click on the web-size one for the full-size version) is a tiny fraction of the information available in the negative. One site I was reading suggests that a 5x7 negative contains about 400 MB of 16-bit black and white data. If I pursue the Epson V700 scanner I was looking at (with a 6400 dpi scan resolution), a 5x7 negative will produce a 1433.6 MP image, or about a 2.7 GB file at 16 bits per pixel. The website I mentioned above, Ken Lee Gallery, was reckoning with a 2400 dpi scan resolution.
That's a lotta bits. (For reference, the full-size image below is a 1.2 MB file. Granted, it's a JPEG, and therefore compressed, but still. It's orders of magnitude smaller.)
Anyway, enough jabbering. Here's the shot.
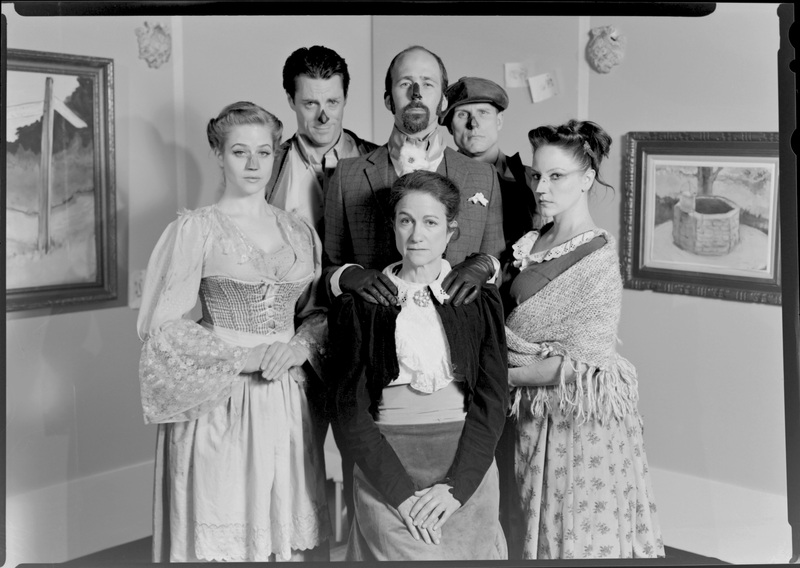
Jillian Vashro, James James, Truman Buffett, Mary Murfin Bayley (seated), Martyn G. Krouse, Danielle Daggerty
This shot shows one very distinct artifact of being processed in a batch -- there's a vertical stripe that runs the entire height of the left side of the photo, past Jillian's shoulder, around the middle of the signpost picture. If you click on the bigger picture, you can also see some dust and detritus that I didn't clean off, and that's not all of it: this picture has already received the loving ministrations of Photoshop's healing brush to deal with some specks of dust, as well as specks of missing emulsion. I need to go through the four I took and find the one that was processed individually. Hopefully it escaped with less damage.
Posted at 12:12 permanent link category: /photography
Mon, 25 Apr 2011
I've been working on this show at Annex, The Tale of Jemima Canard (you might want to go see it -- it runs until May 21st). It's set in an ambiguously defined time, but is clearly some time around the turn of the last century.
I did a bunch of old-style portraits (seated subjects, severe expressions, sepia-toning, etc.) for the different actors. It was a lot of fun.
I decided that, in the spirit of the show, I should attend opening night in my finest finery, so I got myself all dolled up in most of the clothes I acquired a few years ago for my Jack the Ripper costume (which is essentially a Victorian Gentleman costume plus a fake dagger).
Of course cameras were out, and I decided to take the whole "old photo" thing one step further, and actually do some hand-coloring:
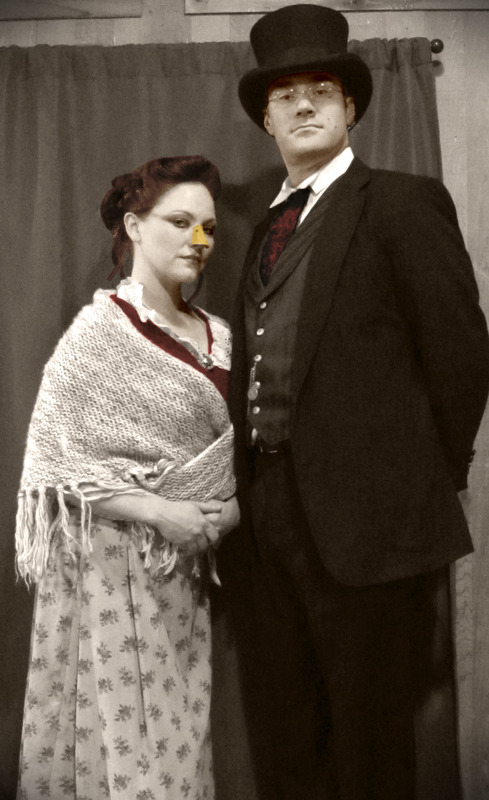
It was very interesting to play around in Photoshop, and see what I could do to replicate the effect a hand-colored black and white photo. I'm not 100% pleased with the result, but it's informative, and I'm certainly not unhappy with it. The Color Burn and Overlay layer blending modes are your friend if you want to try it yourself.
Posted at 16:09 permanent link category: /photography
Categories: all aviation Building a Biplane bicycle gadgets misc motorcycle theater